Without further delay, let's get down to the business of being cool. First, pop in the CD you want to rip (obviously!). Next, fire up a Konqueror window and open the Services tab on the Navigation panel. The Navigation panel sits on the left side of the window, as shown in the screenshot below. If it's not visible, you can produce it out of thin air by pressing the magic F9 key.
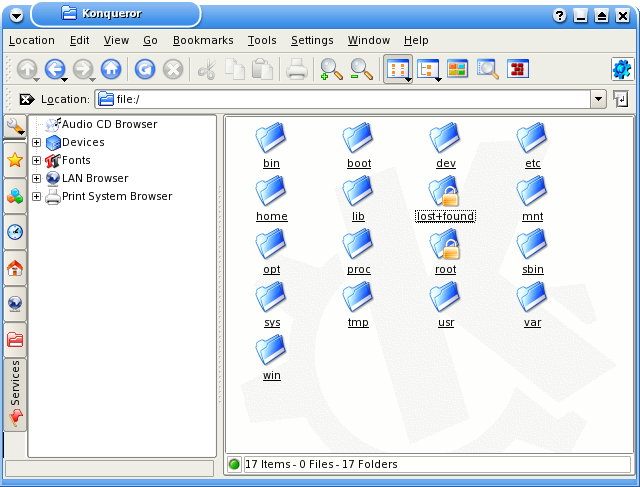
Now click on Audio CD Browser and in a few seconds, you'll see a lot of folders which you can start browsing. If it's taking some time to show anything, it's because it's trying to fetch information about the CD from the CDDB database you configured earlier.
In the screenshot below, you can see the contents of the Ogg Vorbis folder. It shows all the songs in the Ogg format; it even shows their file size! But, you and I both know that audio CDs don't contain Ogg tracks. So what exactly is happening here?

All the folders you see under Audio CD Browser are virtual folders. They show contents of the CD through different filters, so to speak. When you open the Ogg Vorbis folder, you are actually seeing the contents of the CD as if it were stored in the Ogg format. You can go through the other folders and you'll find MP3, flac and wav representations of the CD's contents. You can even see the approximate file sizes when encoded in the various formats.
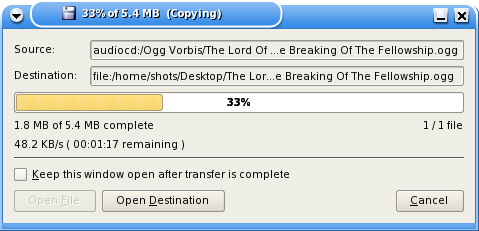
So how do we rip and encode the CD? I think you can guess the answer by now. Just decide which format you wish to rip to, open that folder, and copy and paste those files in your target folder. That's it! KDE will start ripping and encoding the files on the fly! If you copy any of the files in the Full CD folder, you'll be ripping the entire CD as one continuous stream.